All that remains is a bit of hardware and wrapping it up for shipping. It is beautiful! The oil has soaked in very nicely.
All that remains is a bit of hardware and wrapping it up for shipping. It is beautiful! The oil has soaked in very nicely.
I put a coat of penetrating oil on the underside of the table top halves.
This is the underside and therefore not finished sanded and more rough than the top side but the color is beautiful. I can’t wait to see what the top looks like. Below is a picture of the legs with one coat of oil.
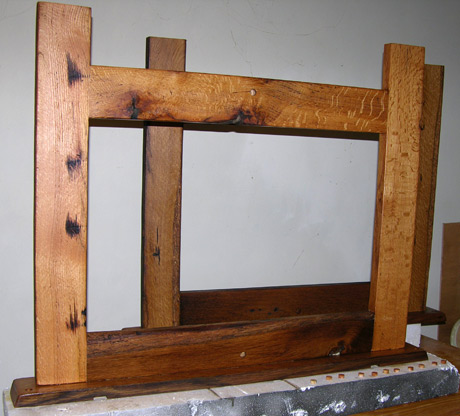
It is just gorgeous. I love the nail scars, the knots, the wormwood, and the grain. This thing is solid and should serve for years and years.
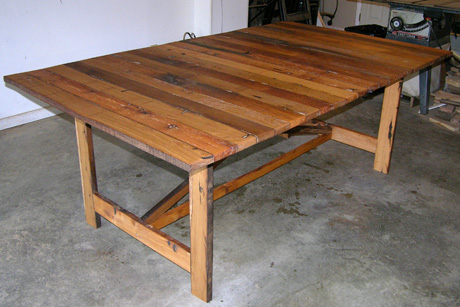
Kelly’s table is coming along and will shortly be finished–literally. Below is a picture of it unfinished and assembled. The band clamps are there to hold the two halves of the top together so I can mark the spots for the alignment pins and other hardware. That should be done tomorrow. Then what remains is a final sanding and a few coats of oil finish.
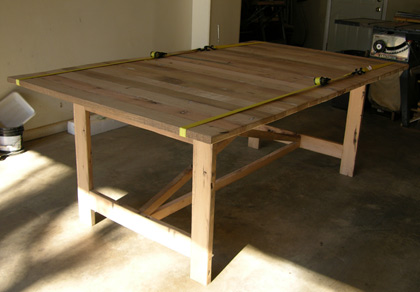
Progress continues on Kelly’s dining table. The two halves of the top have been rough sanded and the table base is almost complete.
Remaining steps include fitting the two halves using alignment pins, placing the attachment points for the two halves, finish sanding all the parts, and application of the penetrating oil finish. Then it will be heavily bubble wrapped and packaged for shipping by Fed Ex. If the weather cooperates, I hope to do this my next weekend or shortly thereafter. It looks good and is solidly built. I made a couple improvements to the design since the initial table was built. I hope Kelly likes it when it is in her home. She has picked some fabulous chairs from Pier 1 that will complement the rustic nature of the piece and add some style and class to the dining set.
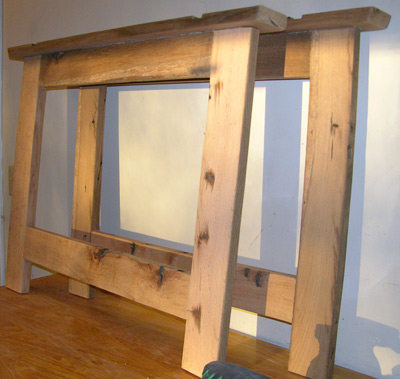
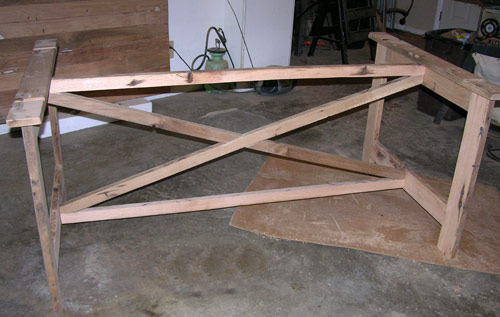
It is beginning to look like a dining table, or at least the parts of a dining table. There is only one piece of the 5 left to be assembled–the center crosspiece. I have done the math and plan to cut and assemble it tomorrow. Believe it or not, the trigonometry/geometry I learned years ago does come in handy at times. I used the good old Pythagorean theorum to figure out the lengths of the pieces I will need to form the crossed members of the center support.
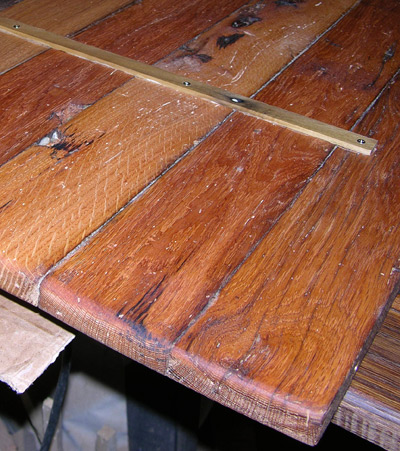
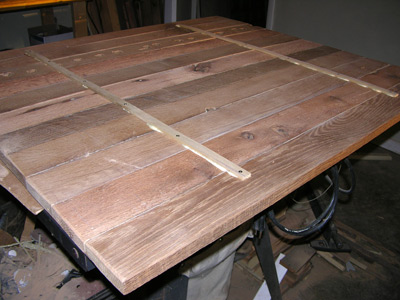
This picture shows the underside of one of the top halves. I added some thin strips to the underside. The glue has to be removed and it needs a final sand.
Here are the leg supports. They need some hand sanding to remove glue residue but otherwise these are ready to be assembled to the crosspiece when it is finished.