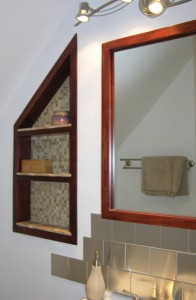
 Finished the built-in shelves a while ago but forgot to post a pic and details since last post on the process. [The trouble with digital media storage is that it is easy to forget what pictures you have on the card.]
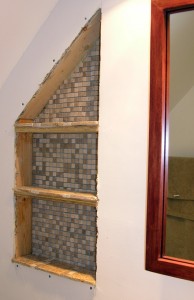
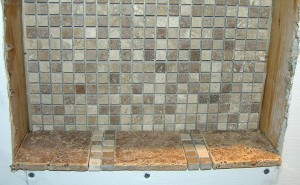
I framed the exterior of the shelves with stained ¼” x 2″ poplar lumber purchased at Lowes. The stain was the same red hickory used on the mirror frame followed by sealing with satin polyurethane. Cutting the angles was a bit difficult but the obscurities of my college trig class finally came in handy.
The back-splash is an easy to use product from Improvements (#337192, $27)—aluminum metal wall tiles. They are advertised as “will not crack, chip, or stain” and easy to install. The later—I can confirm—installation was so simple!
Each box of tiles contains 48 4 x 4 tiles and double adhesive foam for affixing the tiles. The tiles come in almond, aluminum, black, white, chrome or copper and in triangle shaped to spice up your design.
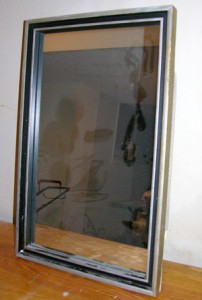 In the process of updating a bathroom trapped in the 70″s, I had to make a decision about the medicine chest. To replace or redo. The chest itself had nothing wrong with it except a worn, out-of-date frame around the mirror.
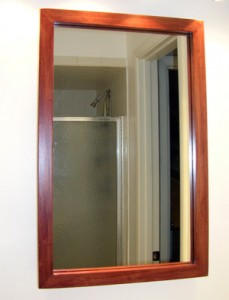 The replacement frame was made with mitered corners from standard poplar purchased at Lowes. I bought a European-style narrow profile vanity from the local box store. It had what the manufacturer called a Cherry finish. Trying to match that color required testing several different stains on scraps of the poplar. The final choice was one by Cabot called Red Hickory. I put one coat of the stain on followed by one coat of satin polyurethane. A light pass with fine steel wool followed by another coat of finish was all it needed to match the finish of the vanity.
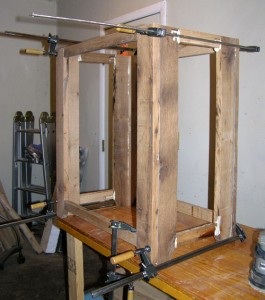 The cabinet for the