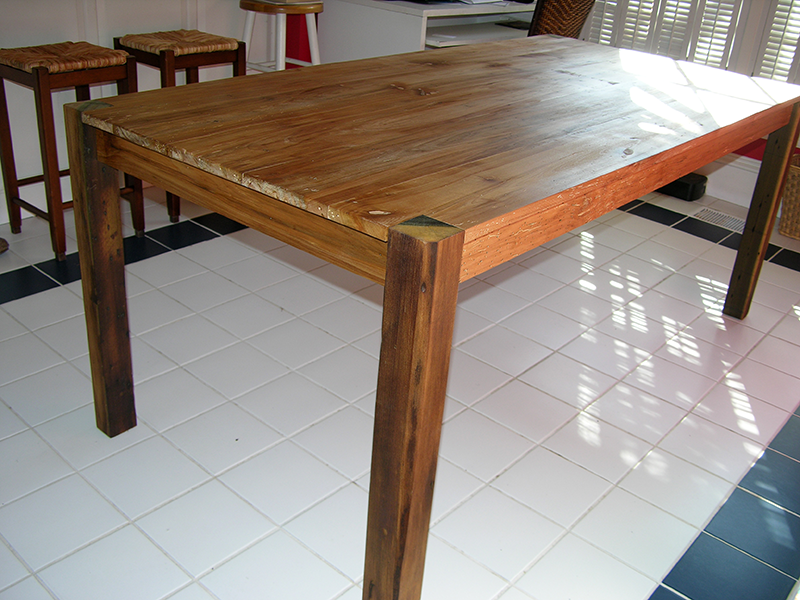
Today I delivered this 3″ x 6″ modern rustic farm table. The client gave me a picture of what she wanted and the dimensions of the table top and let me run with it.
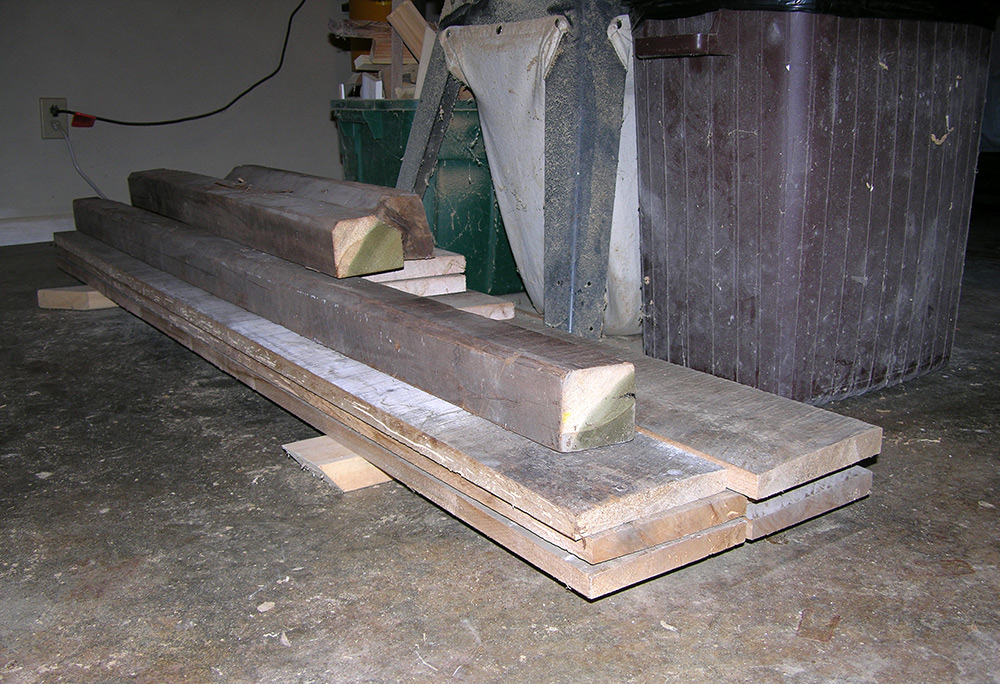
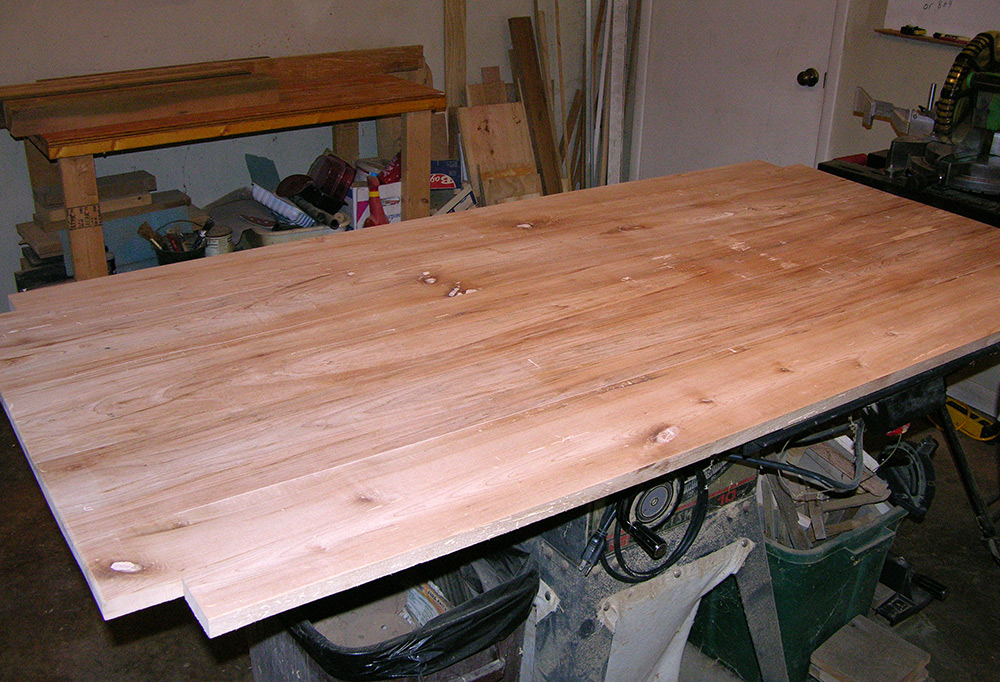
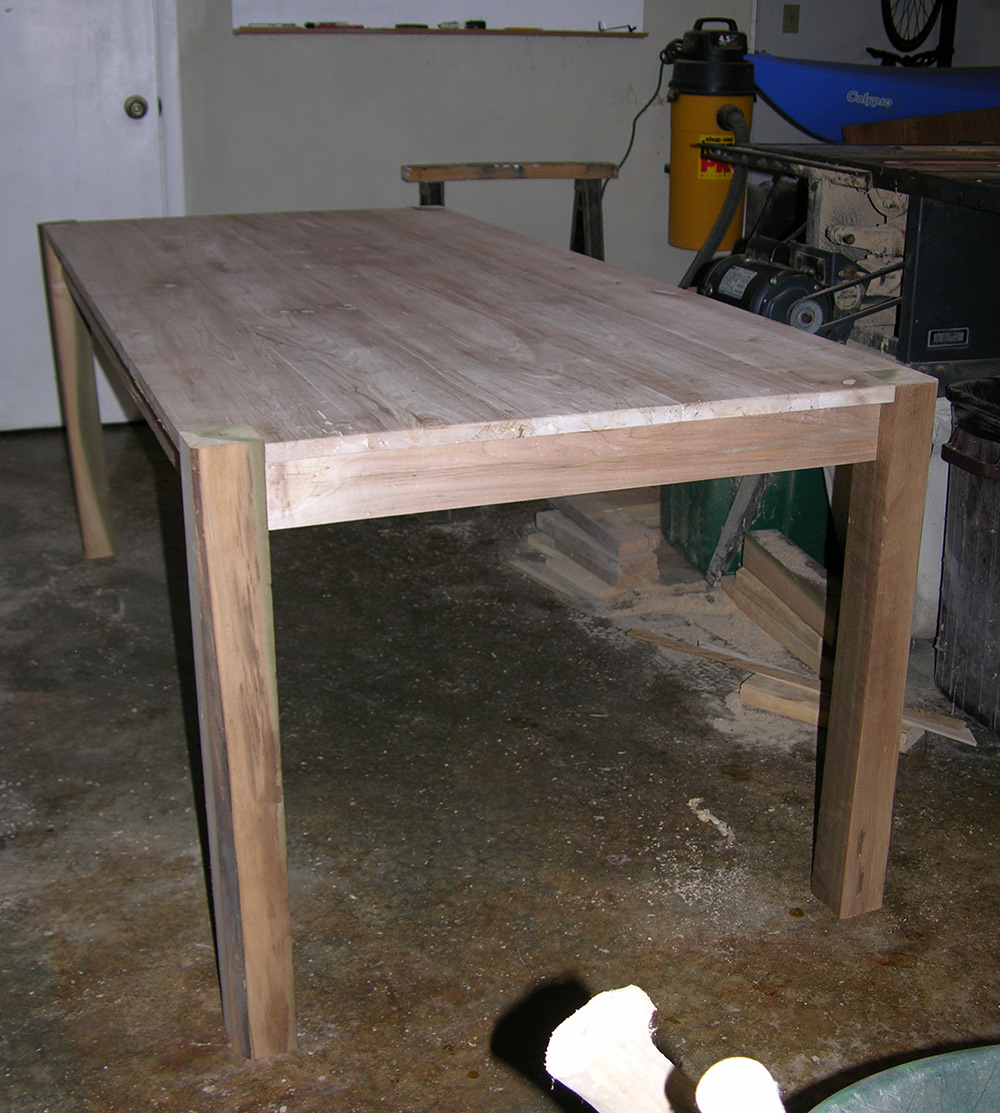
The top is made of beech salvaged from a barn in Ohio and the legs are made from poplar timbers salvaged from a barn in Alabama. Both are beautiful with many natural features and color variations.
The beech lumber used for the top was planed, biscuit joined, sanded and finished with penetrating tung oil. A few larger imperfections were filled with wood filler before sanding. The legs were planed square, cut to length, and finished with tung oil. The aprons were cut from the same lumber as the top and attached with glue and sunken wood screws.
Hanger bolts were used to attach the legs to corner cut outs in the top. Corner supports were attached to the apron with glue and wood screws.
This project was very enjoyable and I am looking forward to seeing the client’s rustic kitchen redo she plans to build around this table.