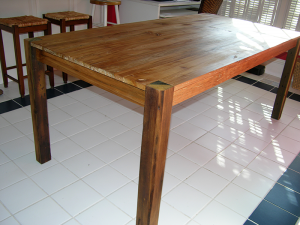
Modern Rustic Farm Table

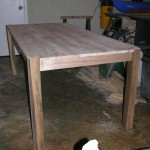
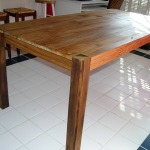
Modern Rustic Farm TableToday I delivered this 3″ x 6″ modern rustic farm table. The client gave me a picture of what she wanted and the dimensions of the table top and let me run with it.

The top is made of beech salvaged from a barn in Ohio and the legs are made from poplar timbers salvaged from a barn in Alabama. Both are beautiful with many natural features and color variations.

The beech lumber used for the top was planed, biscuit joined, sanded and finished with penetrating tung oil. A few larger imperfections were filled with wood filler before sanding. The legs were planed square, cut to length, and finished with tung oil. The aprons were cut from the same lumber as the top and attached with glue and sunken wood screws.

Hanger bolts were used to attach the legs to corner cut outs in the top. Corner supports were attached to the apron with glue and wood screws.

This project was very enjoyable and I am looking forward to seeing the client’s rustic kitchen redo she plans to build around this table.
Pet Steps with Storage

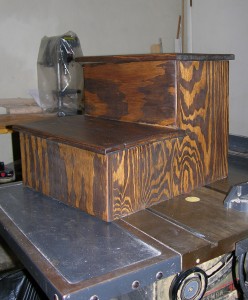
pet stepsA friend asked me to build some steps for her aging dog to use to get up into the bed more easily. I did some research and modified a plan to suit her needs.
Construction is really simple and could be done with a hammer, Phillips screwdriver and handsaw, if that is all you have. I used ¾” plywood for the stair supports and back so using a power saw was beneficial. If you wanted to use a handsaw, I recommend adjusting the measurements for standard 8″ x 1″ pine boards. If you want to make something really nice for Fido, use birch plywood or oak lumber available at most home improvement stores.

You will need some wood glue (preference for polyurethane), 1 ½” finishing nails, wood putty, sandpaper (medium to fine), 12″ piano hinge, and a couple 6″ pieces of scrap and short nails to hold up the interior shelf. The piano hinge is used to attach the top stair so that you can store treats or toys under the top shelf.

For finishing, you can stain before or just seal with paint or polyurethane. I used a walnut stain and a satin polyurethane.

Because dogs prefer carpeted stairs for sure-footed-ness, I recommended getting one self-stick stair tread runner that could be cut in half, one for each of the stairs.

You could knock this out over a weekend and give your pet a leg up on getting into bed.

Tray Made of Wood Scraps

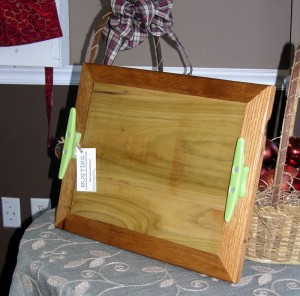
Tray made of wood scrapsI made a couple of these cool trays from scrap wood for a storefront in Chelsea, Alabama. Trays are made from Indiana poplar with a border of Alabama oak salvaged from barn timbers. There are natural knots, nail holes, and other character that comes with salvaged wood. The finish is food safe. The ceramic handles, styled after cleats, give it a unique nautical feel.
You can purchase these from first fruits in the Benson Plaza of Chelsea Corners. A portion of the purchase price will go to the ministry and benefit women and children of the Hannah Home Shelby.

Clementine Crate Birdhouse

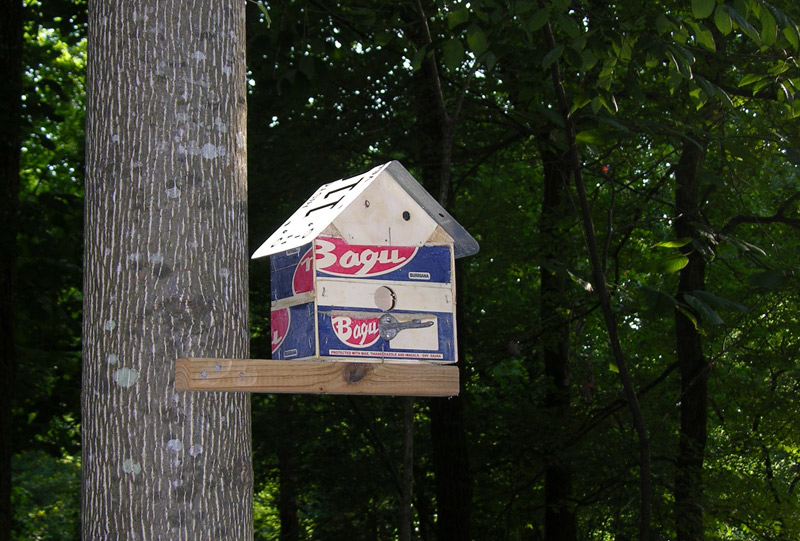
Clementines make winter seem shorter and they are very tasty. I go through a bunch of them when they are in season. So, I had several of clementine crates sitting around that I could not throw away. What to do with them? Hmmmm.

A birdhouse, yeah, that’s it. Can’t say if a house made out of these light wood crates will last in the weather, but it is worth a try. With a sturdy roof made out of an old license plate, they just might.

I used a power saw to cut the crates because I have one, but a hand saw or even an Exacto knife might work to cut the thin plywood. The corner pillar pieces are used at length, so there is no cutting required. An electric drill is also helpful in this project.

The slideshow below shows the major steps to assembling a birdhouse from these raw materials. If you have questions, just leave a comment or email me.


On the question of what to use for a perch: it is up to you. I used an old cabinet pull on one example and a coat hanger on the one shown in the slideshow. This is where you can get creative. Use whatever you like. I would suggest you keep it light because the plywood of the crates is thin.

To finish or not to finish: I used a single coat of polyurethane finish on the outside of this birdhouse because I had some leftover and I thought it might help weatherize the structure a bit. For your creation, it is your call.

Finally, if you should try to do this at home, I would love to see pictures of your creations. Send me a picture or connect with me on Pinterest, Facebook, or Twitter to share.

Busy in the Kitchen

Green Kitchen Remodel

So, lately I have been lax in building anything in the workshop that was not part of improvements to my house. It has been months, but I hope to get back to furniture soon.

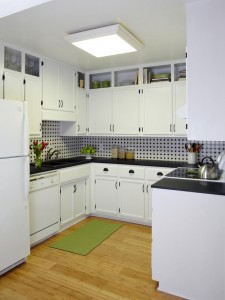
Over the past year I have redone my kitchen from a ’70s tragedy to a lighter, greener, retro-modern workspace. The change was significant enough that a writer friend pitched the story to HGTV. They liked it enough to send a stylist and photographer and the resultant story was published to HGTVRemodels.com. The piece, “A Kitchen Crafted for the Eco-Friendly”, features really great shots of my kitchen redo. Note: they stretched the main photo horizontally making me look a bit wider than normal. Not happy about it!

This project included plumbing, flooring, cabinetry, counter-tops, tile, electrical, and lots of painting. Some of it was a bit intimidating, but nothing was so daunting that it couldn’t be tackled if broken down into smaller pieces.

The anchors were a granite composite sink I found marked down at a box store and a very green counter-top material made of plastic and recycled paper that the manufacturer compared to Bakelight. It is a cool product that can be cut and milled very similar to wood. I found it handles much like hard maple.

Other hooks that sold the story were probably the low budget, the do-it-myself angle, and the before pictures I had taken during the process. The stylist did a great job of giving me better kitchen equipment than I actually have. I am proud that she liked my cafe table and chairs and left them in the shoot. The photographer made everything look great and my friend the writer caught the essence of what I was trying to do. A great experience!